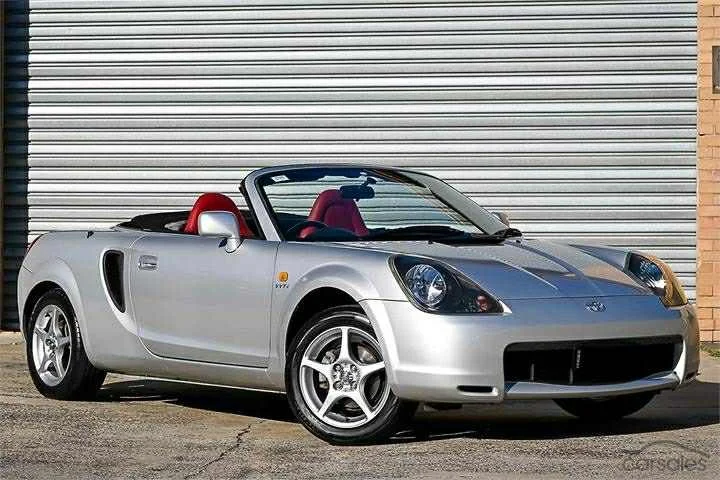
THE DONOR CAR
This kit is based on the third generation W30 Toyota MR2 made from 1999 to 2007. It’s important to select the best donor vehicle possible for your RB200 build nut it doesn’t matter if the car looks a bit rough, as long as it’s in good condition underneath and it’s been looked after and serviced properly. Any paint damage or small dents and a tatty roof aren’t a problem as all these parts will all be removed. The history The build process This is not Lego!
We’ve made it as simple and easy for you to fit as possible but please don’t take this lightly, this is an entire re body of a car and turning a convertible into a coupe. The bulk of the jobs to do is bodywork and bodywork isn’t easy. It’s very physical work and produces a lot of dust. If you’ve done bodywork before you’ll find it easy. If you’ve not done bodywork before you’ll learn, and by the end of the job you’ll find it easy too. Here’s a very brief breakdown of the strip and build process. First strip all the panels and lights of your donor car including the doors. Then cut off the canvas roof leaving the frame still in place.
Remove front and rear bumper brackets and replace with RB200 brackets. Bond on RB200 roof, solid fixings can also be used. Trim and fit side skirts. They bolt to the original side skirt bolt holes. Fit hinges to front clam then front bumper and clam go on at the same time with 8 bolts. Now fit the roof hinges, position the rear clam, bond in the second part of the roof hinge then fibreglass over once bond is cured. Fitting the door panels is the hardest part and the only stage of the job that requires and metal cutting, but once those are done you can get everything together and start to align everything. At this stage it looks like a car but this is where the real work starts. You’ve got lights to fit, door handles and mirrors ,clam catches and 13 vents to cut and fit. The sanding and any filler work mainly involves smoothing out all the seams that are still visible from the mould manufacturing process.
Small low areas in the fibreglass may need located, filled and sanded smooth. These can be quite random and occur during the moulding process and are totally natural. Massage them smooth and they will be perfect forever. Once all this is done you can strip it all back down, sand off all the shine and get some primer onto it and get it ready to paint. After paint its the best bit, rebuild time! By now you know every bolt on the car so it goes back together in no time with precision made mounting brackets that bolt straight to existing mounting points on the chassis, and panels that bolt straight to the original body mounting points on your car. How long will it take? 200 to 300 hours would be a reasonable expectation of time to spend building an RB200 to a high standard including paint.
Contact us.
rb200kitcar@gmail.com
07702793942
